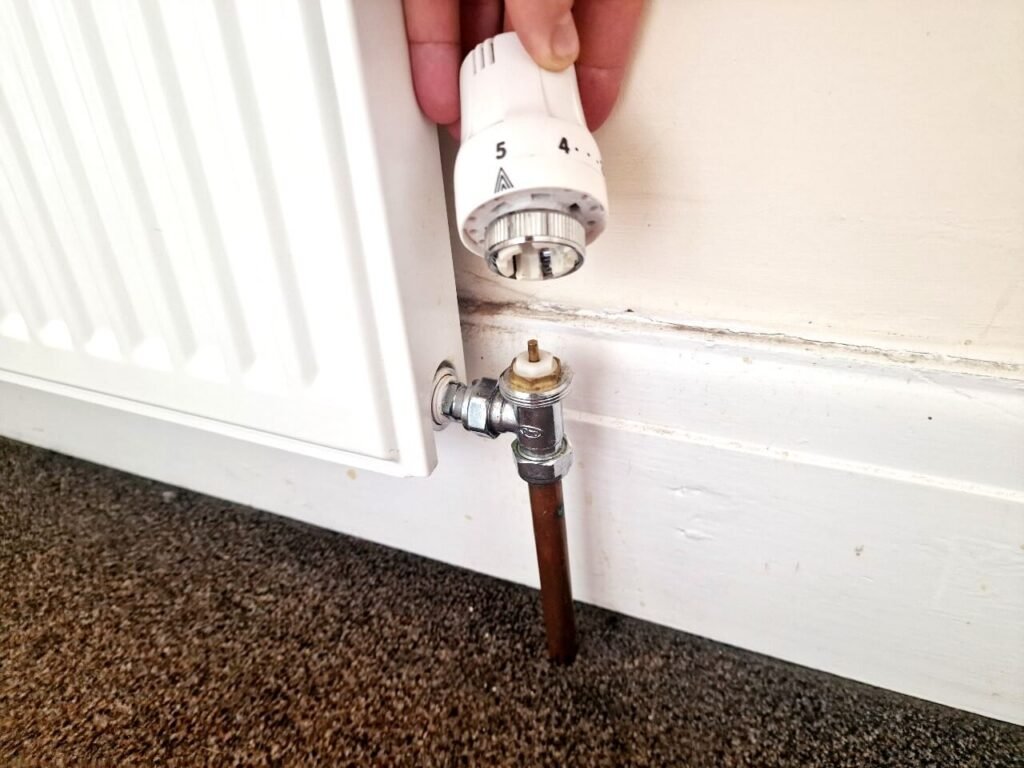
Dealing with a faulty thermostatic radiator valve can be frustrating. A malfunctioning valve head might cause uneven heating, increased energy bills, or even a chilly home. Ignoring the issue can lead to bigger problems in your heating system. The good news is that removing and replacing the valve head is easier than you think.
To remove a thermostatic radiator valve head, turn it to the lowest setting, locate the securing mechanism, loosen it with a screwdriver or by hand, and lift it off gently. Always follow the manufacturer’s instructions for your valve type.
If you’re unsure about removing the valve head or need guidance on radiator maintenance, this guide has you covered. Let’s dive into the details of removing and maintaining radiator valves.
How to Remove Radiator Valves?
Removing radiator valves, including thermostatic radiator valves like the Honeywell or Drayton models, is a straightforward task if you follow the right steps. Here’s a step-by-step guide:
- Turn Off the Heating System: Ensure the heating system is off and the radiator has cooled completely to avoid burns or leaks.
- Close the Valves: Shut off both the thermostatic radiator valve and the lockshield valve at the opposite end of the radiator.
- Prepare Your Tools: You’ll need an adjustable wrench, pliers, and possibly a radiator key. Place a towel and bucket under the valve to catch any water spillage.
- Loosen the Valve: Use the wrench to unscrew the nuts connecting the valve to the radiator and pipe. Be gentle to avoid damaging the threads.
- Drain Remaining Water: Tilt the radiator slightly to drain any trapped water into the bucket.
- Remove the Valve: Once the nuts are loose, you can remove the valve from the radiator and pipe.
This process applies to most radiator valves, whether you’re dealing with a chrome thermostatic radiator valve or standard models.
How to Install Radiator Valves?
Installing radiator valves is just as important as removing them. Proper installation ensures efficient heating and prevents leaks. Follow these steps:
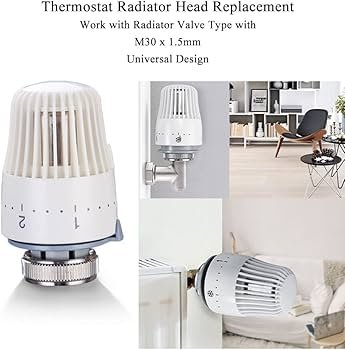
- Select the Right Valve: Choose a valve compatible with your radiator, such as the thermostatic radiator valve Honeywell or Drayton models, known for reliability.
- Wrap Threads with PTFE Tape: Wrap the pipe threads with PTFE tape to create a watertight seal.
- Attach the New Valve: Position the valve onto the pipe and radiator. Use a wrench to tighten the connection, but avoid overtightening.
- Reopen the Valves: Slowly reopen the lockshield valve and TRV to let water flow into the radiator. Check for any leaks.
- Bleed the Radiator: Use a radiator key to release trapped air, ensuring optimal performance.
Proper installation ensures your system runs smoothly and extends the lifespan of your valves.
Can I Fit Thermostatic Radiator Valves Myself?
Yes, you can fit thermostatic radiator valves (TRVs) yourself if you’re comfortable with basic DIY plumbing tasks. Fitting a TRV, such as a Honeywell or Drayton thermostatic radiator valve, involves the following steps:
- Turn Off the System: Switch off the heating and let the radiator cool.
- Remove the Old Valve: Follow the removal steps outlined earlier.
- Install the TRV: Position the TRV onto the pipe and radiator, ensuring the arrow on the valve matches the water flow direction.
- Tighten the Connections: Secure the valve using a wrench, being careful not to overtighten.
- Test the System: Reopen the valves, bleed the radiator, and test for leaks.
While DIY installation can save money, hiring a professional might be a better option if you’re unsure about the process.
How Much Does It Cost to Repair a Radiator Valve?
Repairing a radiator valve, including thermostatic radiator valves, depends on several factors:
- Type of Repair: Simple fixes, like replacing the valve head, cost less than repairing the entire valve body.
- Valve Type: High-quality models like Honeywell or Drayton thermostatic radiator valves may cost more to repair but offer better performance.
- Labor Costs: Hiring a plumber typically costs $50 to $150 per hour, depending on your location.
The average cost to repair or replace a valve ranges between $100 and $300. To save money, consider replacing only the valve head if the body is still in good condition.

Is It Worth Replacing Radiator Valves?
Yes, replacing radiator valves is worth it for several reasons:
- Improved Heating Efficiency: New valves, especially thermostatic models, help regulate room temperature and reduce energy waste.
- Reduced Energy Bills: A functioning valve ensures your heating system works efficiently, lowering heating costs.
- Longevity: High-quality valves like chrome thermostatic radiator valves or thermostatic radiator valve Honeywell models last longer, providing value for money.
- Comfort: Properly functioning valves eliminate uneven heating, ensuring every room stays warm and comfortable.
If your radiator valve isn’t working or showing signs of wear, replacing it promptly ensures your heating system performs at its best.
Summary
Removing a thermostatic radiator valve head is a simple task with the right tools and guidance. Whether you’re dealing with a Honeywell thermostatic radiator valve or other models, proper maintenance and timely replacements enhance your heating system’s efficiency and lifespan. Choose high-quality valves like those from IVALVECRAFT to ensure long-lasting performance.
Choose IVALVECRAFT, choose reliable partner, enjoy the high quality and best service.